
Hyundai Elantra Owners Manual
Rear combination light bulb replacementMaintenance / Light bulbs / Rear combination light bulb replacement
(1) Tail light
(2) Back-up light
(3) Tail light
(4) Rear turn signal light
(5) Stop / tail light
(6) Side marker
Outside light
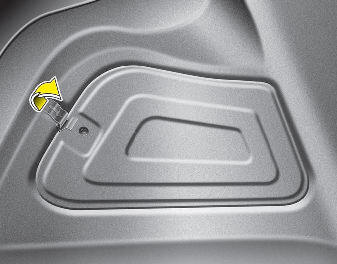
1. Open the trunk lid.
2. Remove the service cover by pulling out the service cover.
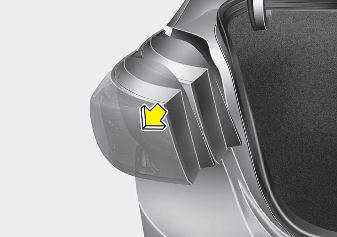
3. Loosen the assembly retaining nuts.
4. Remove the rear combination light assembly from the body of the vehicle.
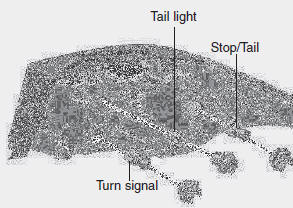
Stop/Tail light and turn signal light
5. Remove the socket from the assembly by turning the socket counterclockwise until the tabs on the socket align with the slots on the assembly.
6. Remove the bulb from the socket by pressing it in and rotating it counterclockwise until the tabs on the bulb align with the slots in the socket. Pull the bulb out of the socket.
7. Insert a new bulb by inserting it into the socket and rotating it until it locks into place.
8. Install the socket in the assembly by aligning the tabs on the socket with the slots in the assembly. Push the socket into the assembly and turn the socket clockwise.
Tail light
5. Remove the socket from the assembly by turning the socket counterclockwise until the tabs on the socket align with the slots on the assembly.
6. Remove the bulb by pulling it out.
7. Inset a new bulb by insetring it into the socket.
8. Install the socket in the assembly by aligning the tabs on the socket with the slots in the assembly. Push the socket into the assembly and turn the socket clockwise.
Inside light
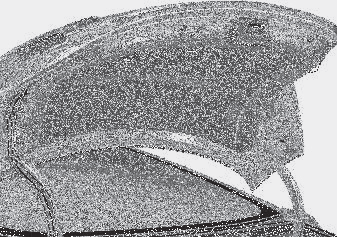
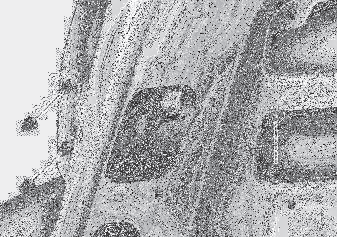
1.Open the trunk.
2.Loosen the retaining screw of the trunk lid cover and then remove the cover.
3.Disconnect the connector and then remove the nuts by turning the nuts counter clockwise.
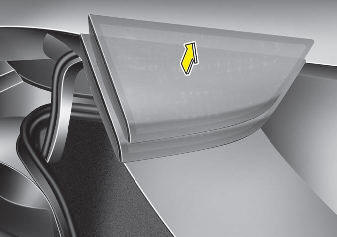
4.Take the light assembly out.
5. Remove the socket from the assembly by turning the socket counterclockwise until the tabs on the socket align with the slots on the assembly.
6. Remove the bulb by pulling it out
7.Insert a new bulb by inserting it into the socket.
8. Install the light assembly to the trunk.
9.Reinstall the nuts and connector and then the trunk lid cover by pushing in the screw.


